
This post may contain affiliate links which means I may receive a commission for purchases made through links. I will only recommend products that I love! Learn more on my Private Policy page.
No knead bread recipe—if I can make it, trust me, you can too! I used to think baking bread was some fancy skill reserved for grandmas or professional bakers, but once I discovered this method, everything changed.
This is hands down the easiest bread recipe ever, and it turns out sooo good every single time. My family and friends are literally obsessed with it!
It’s the perfect loaf to start with if you’re a total beginner.
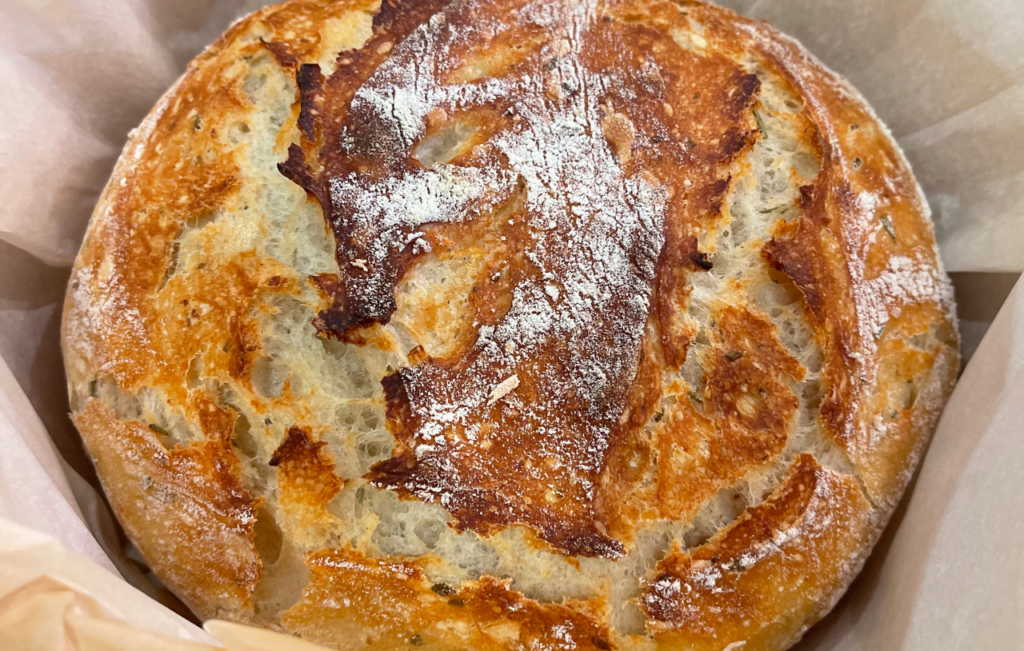
The crust? Crispy. The inside? Soft and chewy. And you don’t need any special tools or experience—just some basic ingredients, a Dutch oven, and a little time.
Let’s dive into this cozy kitchen project that’ll make your home smell amazing.
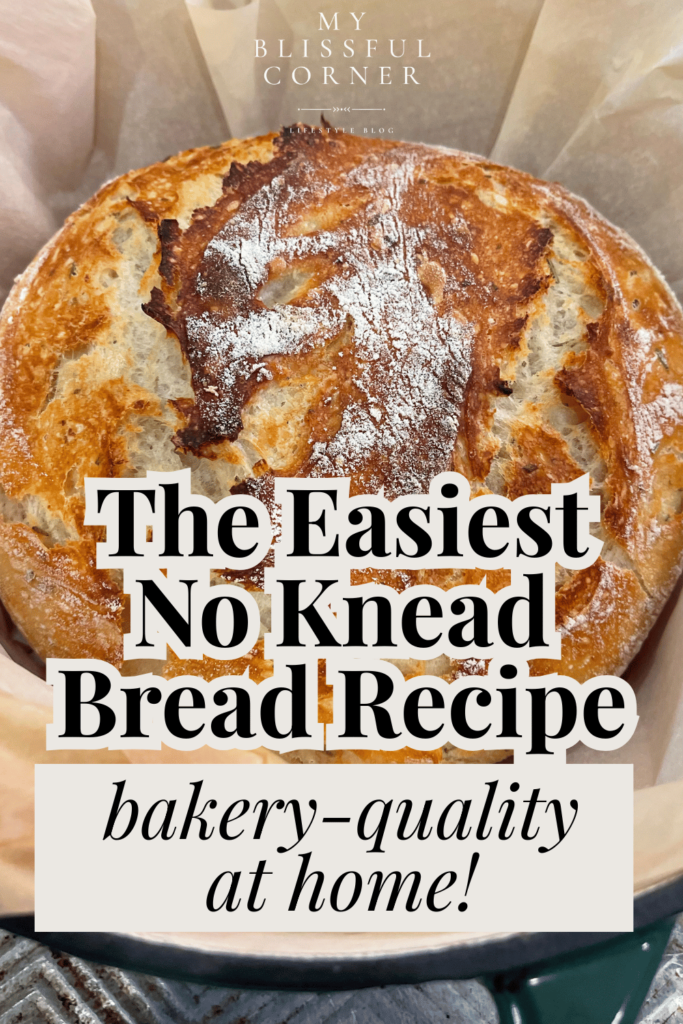
This post is all about the best no knead bread recipe.
What You’ll Need to Make the Best No Knead Bread
Ingredients:
- 3 cups organic unbleached all-purpose flour
- 1 tablespoon mineral-rich grain salt (I’m very picky about salt, and I highly recommend using a good one!)
- 1 tablespoon instant yeast
- 1.5 cups warm water (not hot—just warm!)


Supplies:
- Mixing bowl
- Metal soup spoon
- Whisk
- Spatula
- Dutch oven (any good heavy pot with a lid works!)
- Cooling rack
- Parchment paper
- Plastic food wrap
- Cotton kitchen cloth
- Wooden board or surface
- Scoring knife or any sharp knife
Seriously—nothing fancy here.

Step-by-Step: Let’s Make This No Knead Dutch Oven Bread
Mix It All Up
In your mixing bowl, whisk together the flour, salt, and yeast.
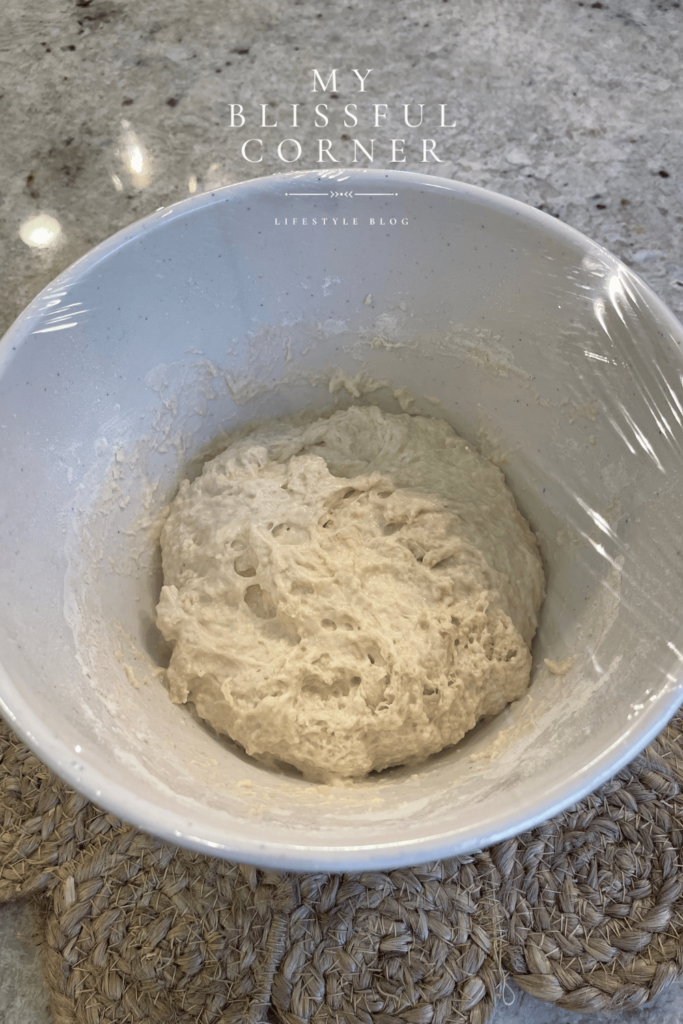
Add the warm water and mix until there are no dry spots. The dough will be sticky and wet—that’s what you want!
If it feels a little dry, add 1–2 extra tablespoons of water.
Scrape the sides, cover the bowl with plastic wrap and a towel.
Let it sit for 1 hour. I always place it on a wooden board since my granite counters are very cold.
(You can let it rise even longer—2 to 4 hours is fine if you’re running errands or life happens.)
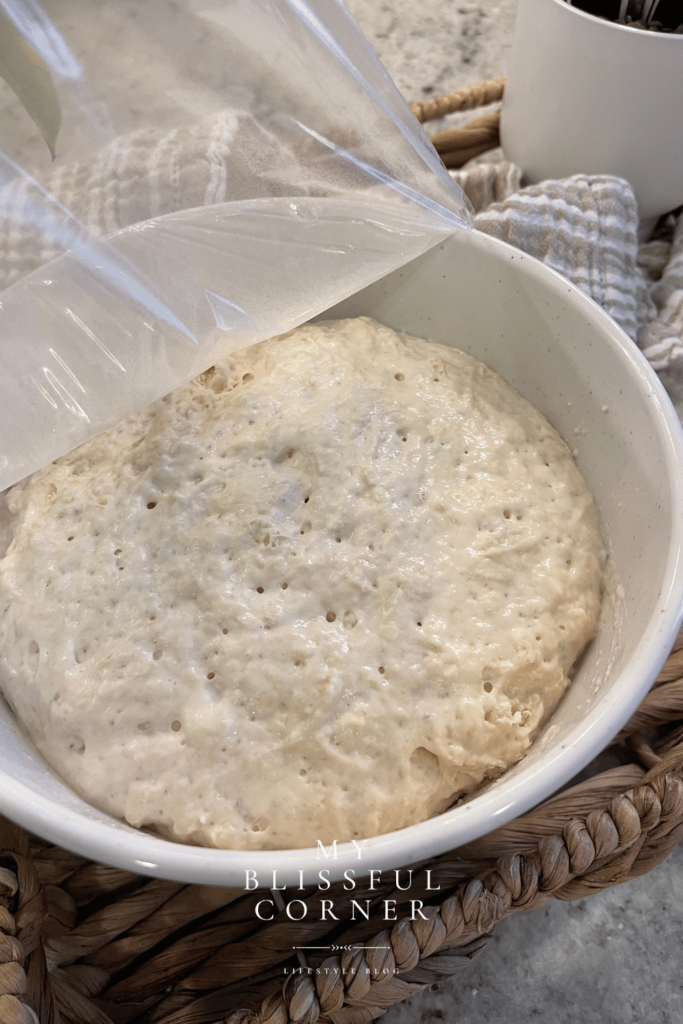
Shape and Rest
After at least 1 hour, uncover the bowl. The dough should look bubbly and have doubled in size.
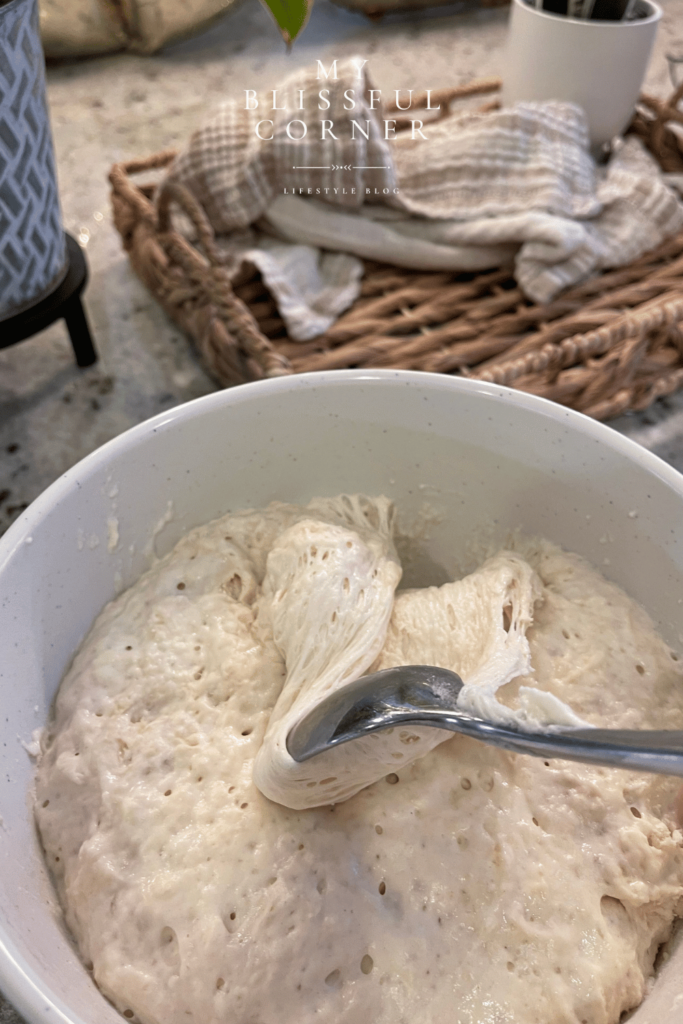
Using a metal soup spoon, gently scrape and fold the dough from the sides into the center (like a stretch and fold technique)
Flour your wooden board and transfer the dough onto it.
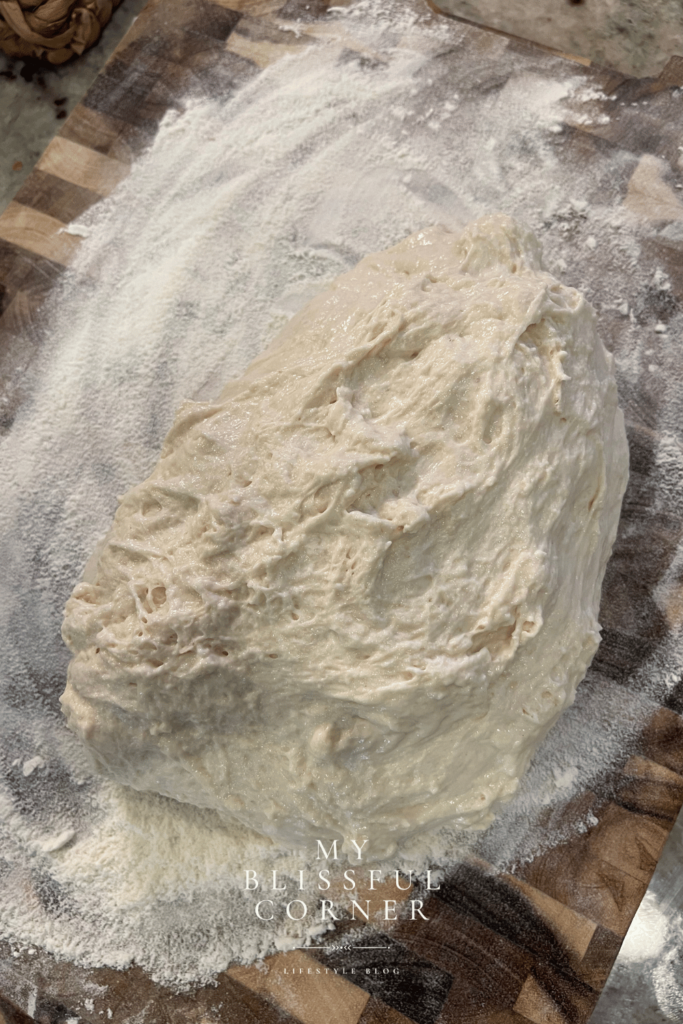
Flour your hands and stretch each side of the dough, folding it toward the center until it starts to form a ball.
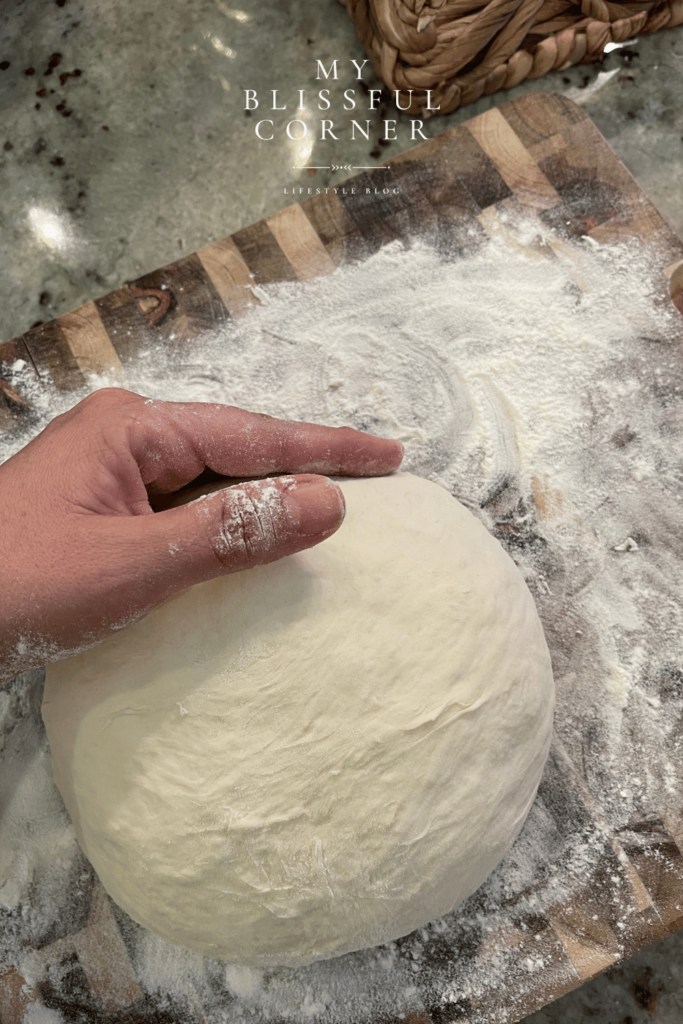
Flip the dough and gently mold it into a round shape.
Sprinkle a little flour on top, place it on parchment paper and back in the bowl.
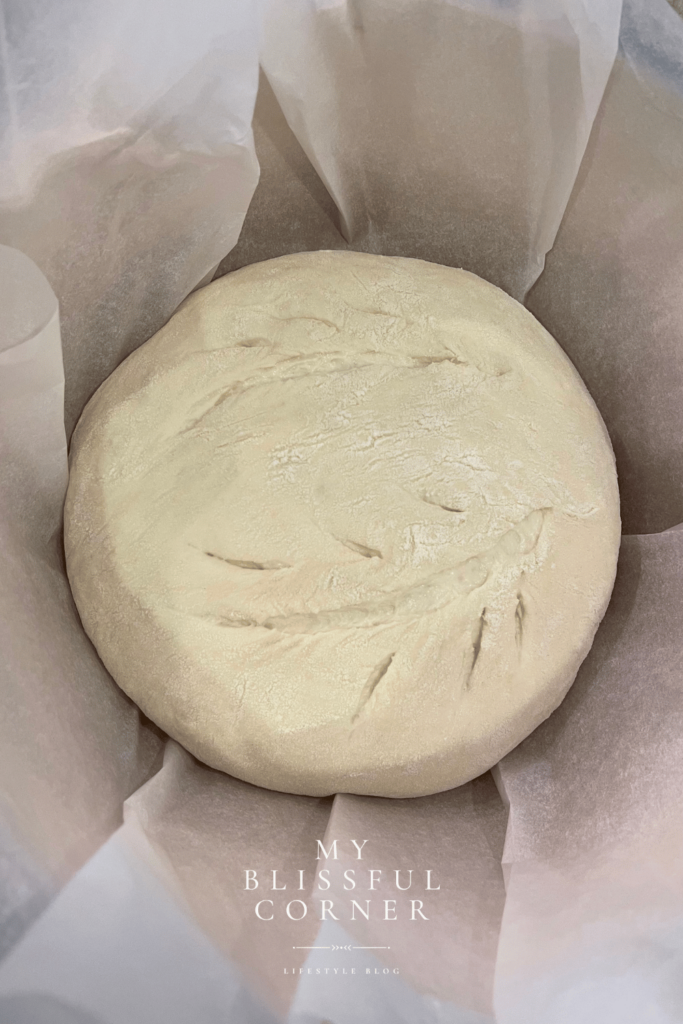
Score the top—make a few slashes however you like!
Cover with a clean kitchen towel and let it rest for 15 minutes.
Bake the No Knead Bread
Preheat your oven to 450°F with the Dutch oven inside (lid off).
Once hot, carefully transfer the dough (on parchment paper) into the Dutch oven.
Cover with the lid and bake for 30 minutes.
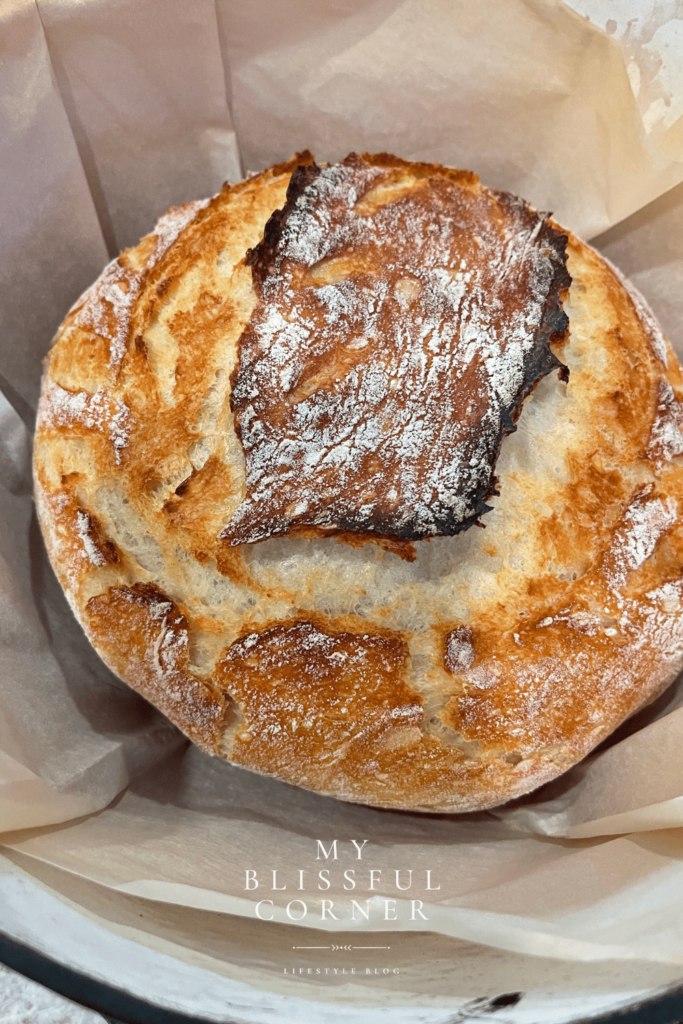
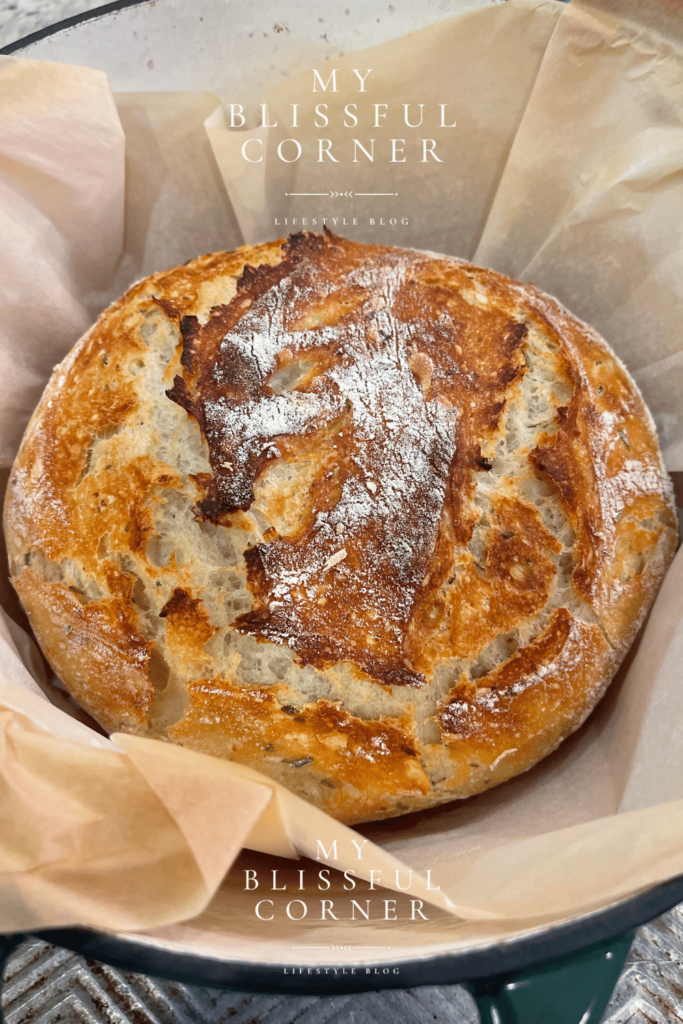
Remove the lid and bake for 10 more minutes until golden brown.
Take it out, and boom—you’ve got a beautiful rustic loaf! Yay!!
Let it cool on a rack for 10–15 minutes before slicing. Or eat warm with butter because OMG.
Best Way to Store No Knead Bread
Now that you’ve made the best bread ever, here’s how to keep it fresh.
Should You Refrigerate Rustic Bread?
Short answer: No.
Why Not?
- The fridge dries out your loaf.
- It speeds up the staling process (called retrogradation).
- It makes that dreamy crust rubbery. Not fun.
Best Storage Methods:
Short-Term (1–2 Days):
- Store cut side down on a wooden board (if you’re eating it on the same day)
- Or wrap in parchment paper and a clean kitchen towel.

Medium-Term (3–4 Days):
- Use a bread box.
- Or wrap in a paper bag and place inside a loose plastic bag.
Long-Term:
- Freeze it! Slice it first.
- Wrap in foil or plastic, then in a freezer bag.
- Reheat slices in a toaster or oven for perfect texture.
Fun Variations to Try Next
Once you’ve got the hang of this no knead bread recipe, try switching it up:
Add-Ins:
- Chopped rosemary & sea salt
- Roasted garlic cloves
- Olives & herbs
- Parmessan cheese and italian herbs
- Jalapeño and cheddar cheese
Different Flours:
- Try half whole wheat flour for a nuttier flavor.
- Swap in bread flour for more chewiness.
Flavor Boosts:
- Brush the crust with garlic butter after baking and if you’re eating right away—total game changer.

No Knead Bread – Frequently Asked Questions
What’s the difference between no knead bread and regular bread?
No knead bread skips the whole kneading process. Instead, time does all the work.
Can I use sourdough starter instead of yeast?
I haven’t personally tried that yet, so I can’t speak from experience. If you’re familiar with sourdough baking, you could experiment—but I always recommend starting with the basics first.
Do I need a Dutch oven?
It’s the best for that crispy crust, but a heavy oven-safe pot with a lid can work too.
What size Dutch oven should I use?
A 6 or 7 quart Dutch oven works perfectly for this easy bread recipe for beginners.

Final Thoughts
If you’re even thinking about trying this no knead bread recipe, go for it. It’s the easiest way to make real, crusty, homemade bread—and once you do, you’ll be hooked.
This is my go-to easy bread recipe for beginners and it’s a great way to get confident in the kitchen.
Grab that flour, heat up the oven, and try it out. A fresh, rustic loaf is closer than you think—and yep, you’ve totally got this.
Happy baking!
This post was all about the best no knead bread recipe.


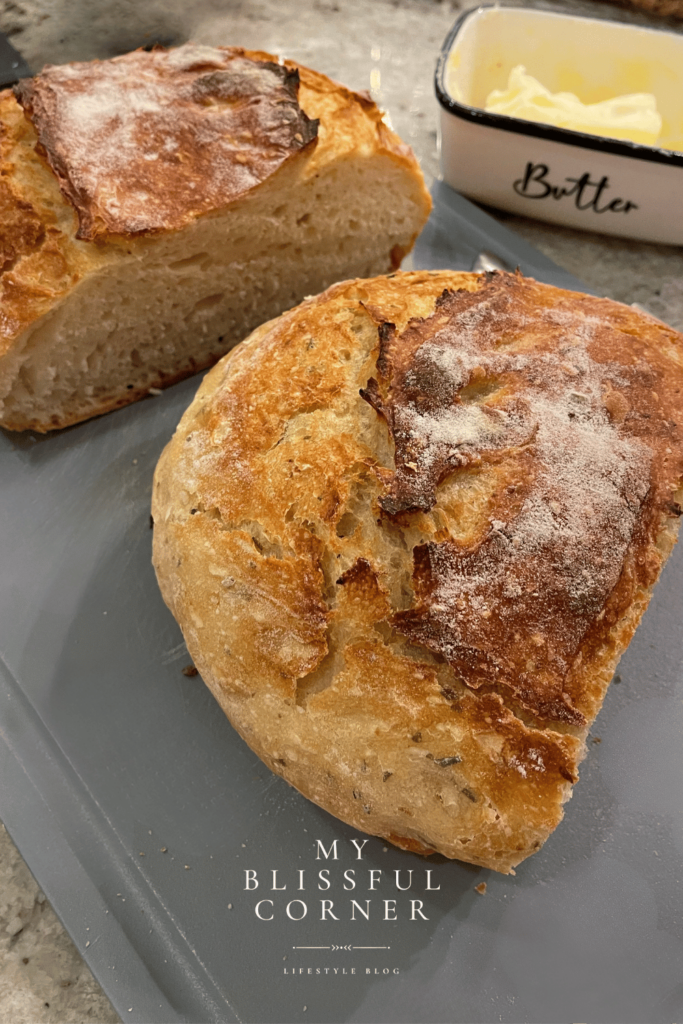
“OMG! This is hands down the best bread I’ve ever tasted! It’s not only delicious but also incredibly easy to make. I’ve always thought baking bread was too challenging for someone with a busy life like mine, but this amazing recipe changed everything. With a little guidance from my friend over FaceTime, I successfully made not one, but two loaves: a classic and a mouth-watering cheddar cheese jalapeño version! Both are absolutely to die for!
Trust me, once you try this, you’ll never want to buy store-bought bread again. Your kids will be begging for more, and they’ll love learning how to make this easy bread themselves this summer. This recipe is a keeper for every season! My family and I are completely obsessed. Huge thanks to my friend Paola for introducing me to this delightful experience—my family is enjoying it so much!”
Aww! These are the sweetest words —thank you, friend! I’m so happy you tried and loved the recipe. Your family is in for lots of freshly baked bread from now on!