This post may contain affiliate links which means I may receive a commission for purchases made through links. I will only recommend products that I love! Learn more on my Private Policy page.
DIY Charcuterie Board: How I Build Them and Why You Can Too

If you’ve been to one of my parties, you probably already know—I have a bit of a reputation for my charcuterie boards. Friends and family always talk about how much they love them, and honestly, that makes me so happy.
But here’s the truth: I’m not a trained chef, and I’m definitely not following strict food styling rules. I simply love entertaining, cooking, and finding little ways to be creative in the kitchen.
To me, a DIY charcuterie board is the perfect mix of art and food. You can tailor it to your taste, the season, or the vibe of your gathering.
And the best part? You don’t need fancy tools or expensive ingredients to make something beautiful.
Whether you’re looking for party charcuterie board ideas, exploring new cheese board ideas, or searching for charcuterie inspiration for your next event, this guide will walk you through my personal process step-by-step.
This post is all about how to make a DIY charcuterie board.
Why I Love Charcuterie Boards
Charcuterie boards are my go-to for so many reasons. First, they’re completely customizable. Whether you’re going for cozy fall flavors, bright summer produce, or a holiday-themed spread, you can make it fit the season or event.
Second, they work for any group size—from a romantic date night for two to a massive party platter.
And finally, they make entertaining simple. You can assemble everything ahead of time, then just set it out and let people graze.
Plus, there’s something about the visual impact that makes people light up when they see it. It’s more than just snacks—it’s a moment.
And I think that’s what turns a DIY charcuterie board from a plate of food into the star of the table!

Materials You’ll Need
Before you start piling on the cheese and crackers, gather your basics:
-
Board or Platter – wood, marble, slate, or even a rimmed baking sheet
-
Small Bowls or Ramekins – for dips, spreads, olives, or nuts
-
Cheese Knives/Spreaders – to make serving easier
-
Tongs or Toothpicks – for guests to grab items neatly
Pro tip: Don’t overthink the board itself. Some of my favorite boards were made on cutting boards I already had in my kitchen.

Ingredients for a Balanced DIY Charcuterie Board
When I’m planning my ingredients, I like to think about variety in texture, flavor, and color. This keeps the board interesting and ensures there’s something for everyone.
Cheese
-
Soft: Soft: brie, camembert, goat cheese, Boursin (a creamy, herbed spreadable cheese that adds a delicious savory touch)
-
Semi-soft: havarti, gouda, or fontina
-
Hard: aged cheddar, manchego, parmesan
Dips or spreads
- Hummus, garlic, buffalo, tzatziki or your favorite!
Meats
-
Cured: salami, prosciutto
-
Mild options: turkey slices, smoked ham
Crunch
-
Crackers, crostini, breadsticks, baguette
Sweet
-
Fresh fruit: grapes, berries, figs, apples, mandarin slices, kiwis, peaches
-
Dried fruit: apricots, cranberries, dates
-
Sweet spreads: honey, fig jam, spicy honey
- Chocolate pretzels, cookies or any sweet treat
Savory
-
Olives, pickles, marinated vegetables, fresh vegetables like mini cucumbers, carrot sticks, cherrie tomatoes
-
Roasted nuts like almonds, cashews, walnuts, pistachios.
Garnishes
-
Fresh herbs (rosemary, thyme, basil)
-
Edible flowers for a charcuterie board aesthetic touch
@my.blissful.corner It’s all about layering the ingredients and having fun with it! I promise I’m not an expert – if I can do it, you can totally make something like this too! 🧀🤍 Want to learn exactly how I put this together step by step? 🥖✨Full tutorial on the blog → https://myblissfulcorner.com/diy-charcuterie-board/ ##diycharcuterieboard##charcuterieboardsoftiktok##appetizerideas##cheeseboard##holidayappetizers ♬ The Fate of Ophelia – Taylor Swift
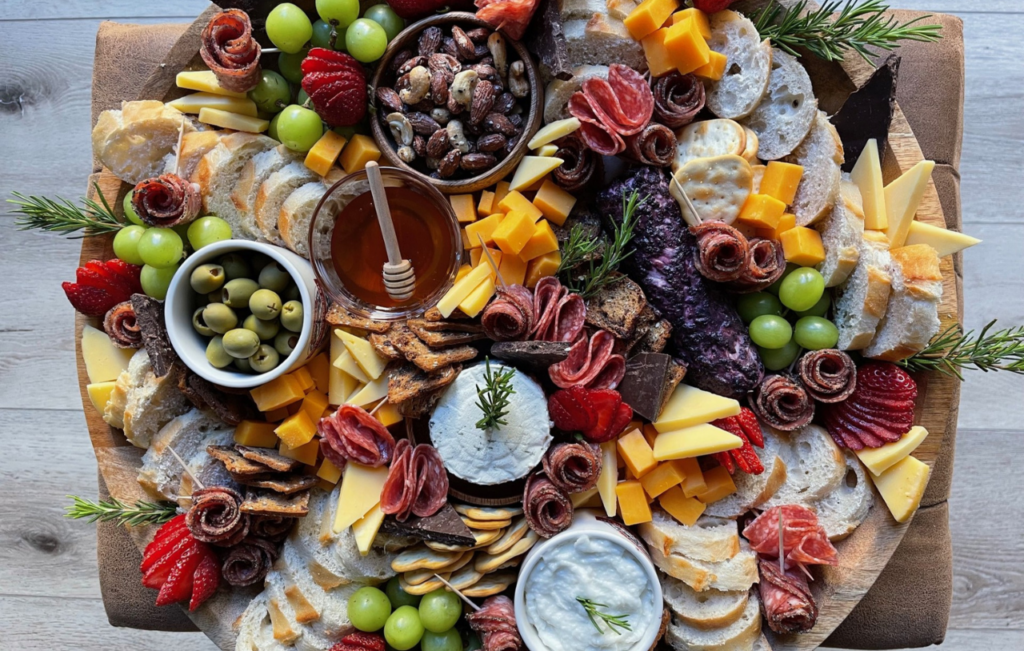
Step-by-Step: My “Organized Chaos” Method
Here’s exactly how I build my boards—from a blank surface to a drool-worthy display.
1. Start with the Bowls
I place small bowls first, filling them with olives, jam, honey, or dips. They act as anchors and help shape the overall layout.
2. Place the Cheeses
I like to choose three to four cheeses for variety. I always pre-slice some of each in squares or triangles so guests feel comfortable diving in.
3. Add the Meats
Fold or roll meats to create texture. Salami roses are always a crowd-pleaser, and prosciutto draped like ribbons adds elegance.
4. Layer in the Crunch
Crackers, crostini, and baguette slices get tucked into open spaces around the board. This makes them easy to grab and visually appealing.
5. Fill in the Gaps
This is where you can get creative. I fill spaces with grapes, strawberries, dried apricots, figs, and sweet treats. Mixing sweet and savory makes every bite exciting.
6. Garnish for the Finish
A few sprigs of rosemary, edible flowers, or seasonal touches (like cranberries in winter) give that polished charcuterie board aesthetic.
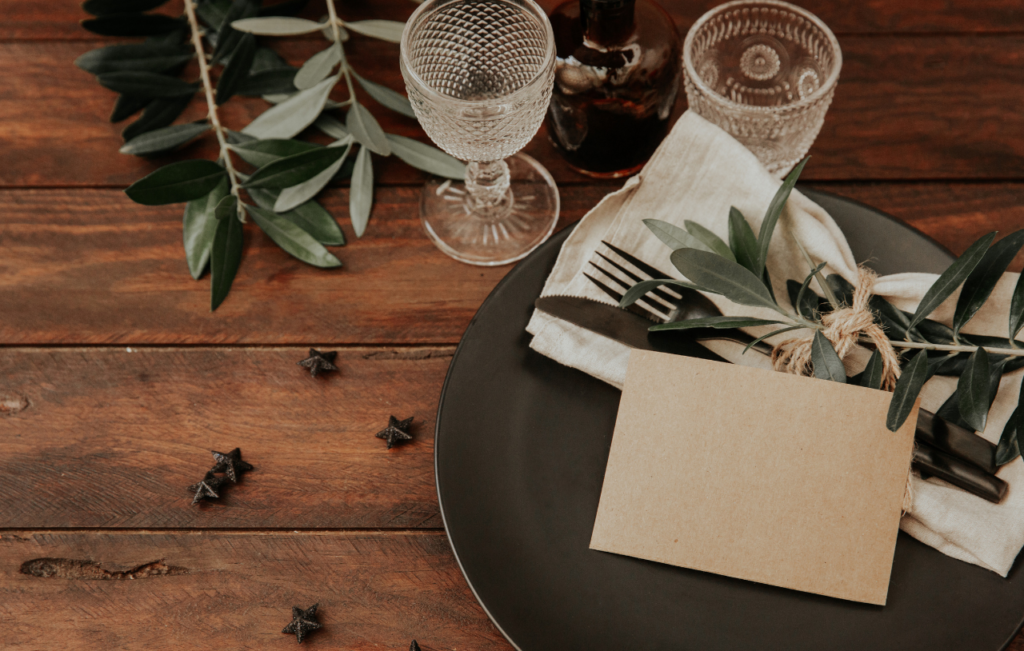
Don’t miss the post “16 Unique Charcuterie Board Ideas You Will Want to Try Now” for more inspiration!
Styling & Theme Ideas
One of my favorite parts of making boards is switching them up for different occasions. Here are a few ideas for inspiration:
-
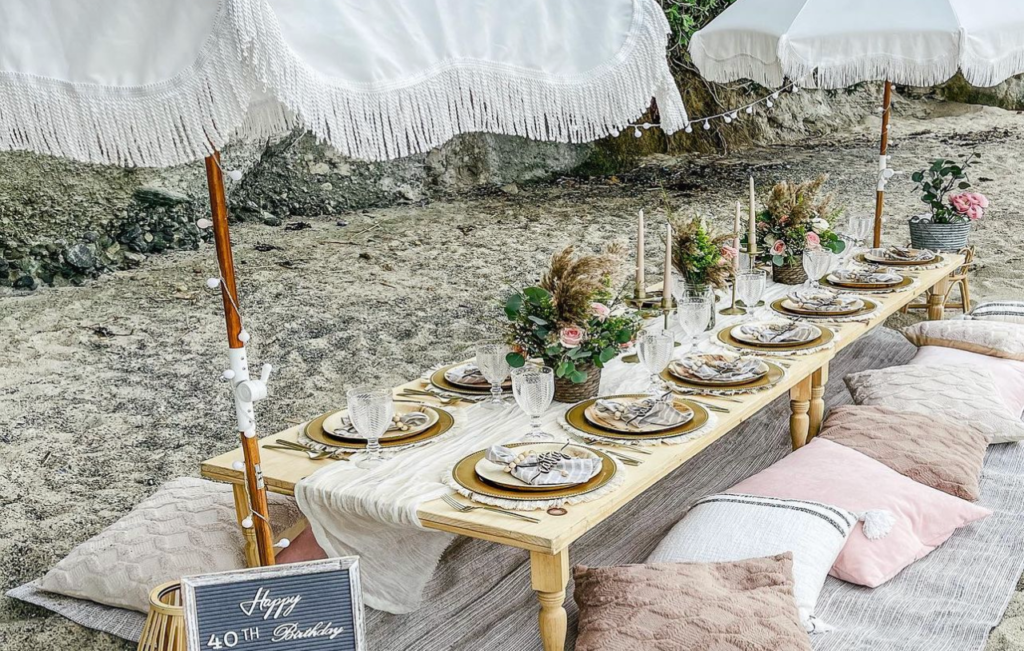
Party Charcuterie Board Ideas – Use bright fruits, colorful vegetables, and finger-friendly items for easy mingling.
-
Cheese Board Ideas – Pair a bold blue cheese with honey, or match smoked cheddar with crisp apple slices.
-
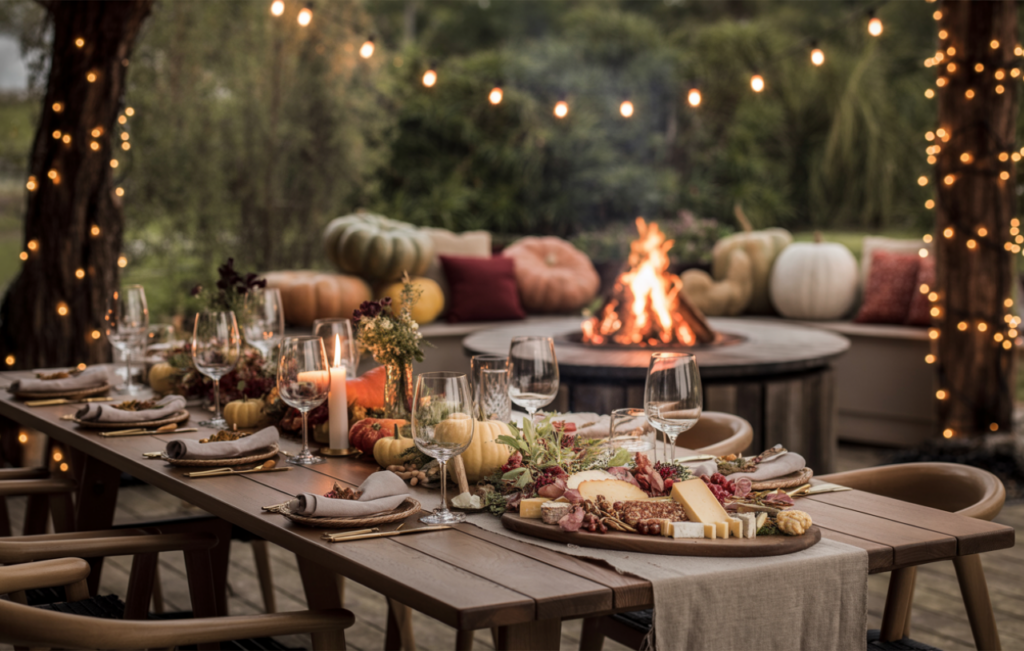
Charcuterie Inspiration – Pull in seasonal ingredients, like roasted squash in fall or watermelon in summer.
-
Creative Charcuterie Board Ideas – Try dessert boards with chocolate and fruit, breakfast boards with pastries and yogurt, or themed shapes using cookie cutters.
DIY Charcuterie Board: Tips for Success
-
Mix Textures & Colors – A good balance keeps your board visually interesting.
-
Work in Odd Numbers – Odd groupings are naturally pleasing to the eye.
-
Don’t Overthink It – Guests will remember the taste and the experience, not whether every cracker was perfectly aligned.

Storing and Using Leftovers
If you do end up with leftovers (which doesn’t happen often at my house!), store cheeses in parchment or cheese paper in the fridge.
Keep meats tightly wrapped and consume within 2–3 days. Leftover fruit and nuts can be tossed into salads, added to oatmeal, or used in baking.
You can use any meats or cheeses in sandwiches or omelets.
Sometimes I even end up making a mini version of the board with the leftovers for a quick and satisfying snack!

Final Thoughts
I hope this post inspires you to try your own DIY charcuterie board at home.
The beauty of these boards is that there’s no “right” way to make them. You can go big and bold with specialty cheeses and artisan crackers or keep it totally budget-friendly with grocery store finds.
You’ll create a little moment for people to gather around, chat, and enjoy!