This post may contain affiliate links which means I may receive a commission for purchases made through links. I will only recommend products that I love! Learn more on my Private Policy page.
Brown paper banners are taking over Pinterest and TikTok — and for good reason. If you’ve been anywhere near social media lately, you’ve probably seen the brown paper banner trend with those adorable hand-painted designs.
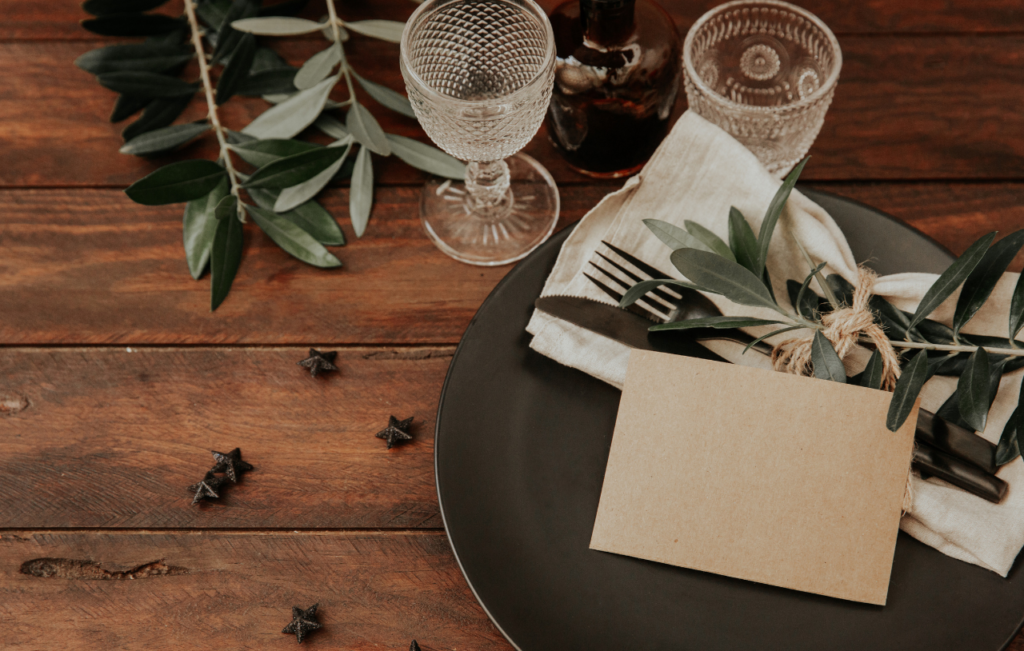
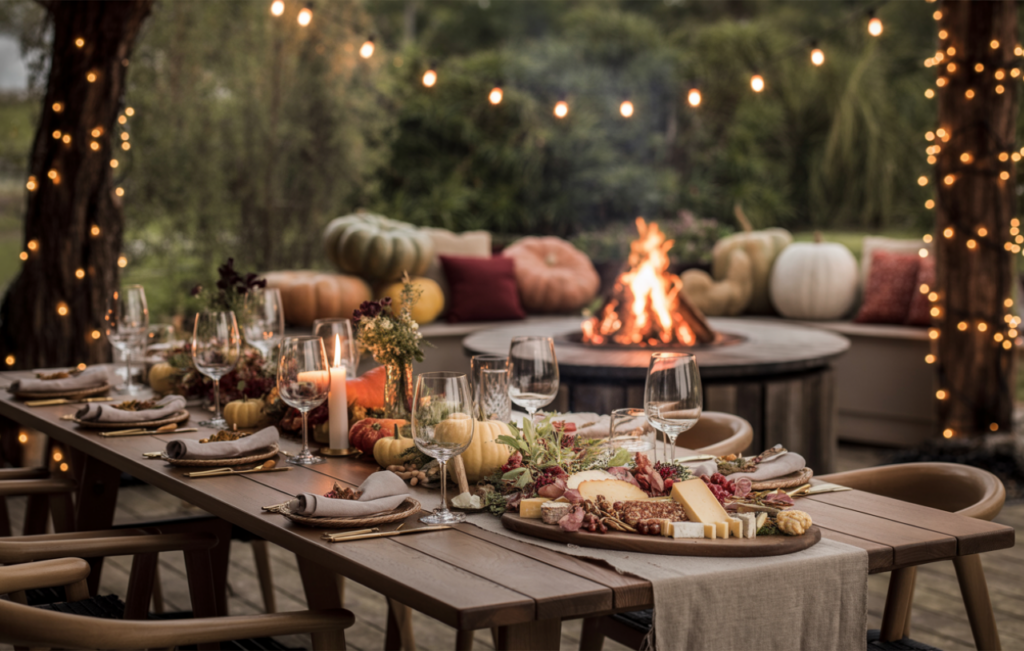
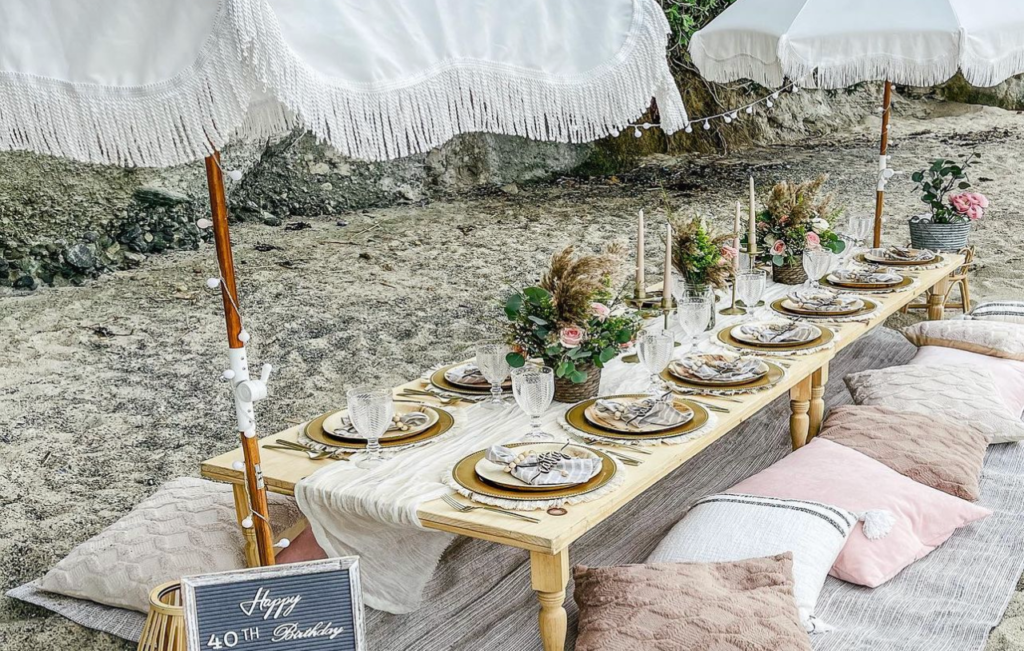
And if you’re anything like me, you’ve saved ten different versions for every party theme imaginable. Whether it’s a cherry birthday party, a cowgirl bash, or a beach-themed dinner, this trend works for literally anything.
I absolutely love the brown paper banner trend. It’s budget-friendly, creative, and gives serious Pinterest-core vibes.
Plus, the possibilities are truly endless. If you’ve ever wanted to make one yourself but felt overwhelmed, don’t worry. I’ve broken it down step by step.
Let’s dive into how to make a brown paper banner that looks custom, cute, and totally TikTok-worthy.
Why I Love the Brown Paper Banner Trend
First of all, brown paper banners just look amazing. They instantly add personality and charm to any party setup.
They’re the perfect DIY solution when you want something creative without spending a ton. I also love that they can be completely customized to fit your style, theme, or event.
You can go sweet and girly, modern and bold, or even keep it simple and rustic. This is where you get to be extra.

AI-assisted image for inspiration
Step 1: Get the Right Paper for Your Kraft Paper Banner
The first step is heading to your local Home Depot or Lowe’s. Go to the paint section and look for contractor’s paper.
It’s sometimes labeled as builder’s paper, and it comes in a roll. It’s that perfect neutral brown color with a soft texture.
This is the same thing people use as butcher paper, so don’t let the name throw you off. It’s thick enough to paint on but still easy to hang on a wall. And it’s super affordable.
If you’re searching online, you can also try the term kraft paper banner roll to find similar products.
Step 2: Choose Your Brown Paper Banner Size
Next, decide how big you want your banner to be. Here are some popular size options:
- 3×3 feet for a square design
- 2×4 feet for a classic rectangular look
- 3×5 feet for something larger and more dramatic
Honestly, you can cut your paper to any size. Just think about where you’ll hang it and what else will be in the frame.
A lot of people like to tape their brown paper signs behind dessert tables or as a main party backdrop.
Step 3: Design Your Butcher Paper Banner Mockup in Canva
This step is optional, but I 100% recommend it. Go to Canva and create a custom-sized design using your banner dimensions.
Play around with fonts, layout, and any cute doodles you want to add. This part is really fun and helps you plan ahead.
Keep your color palette in mind while designing. Pastels for a girly birthday? Bright reds and yellows for a cherry theme? Western-style fonts for a cowgirl party? Go wild!
 AI-assisted image for inspiration
Step 4: Project Your Brown Paper Banner Design
Now comes the magic. Tape your kraft paper to a blank wall, nice and flat. Then use a projector to display your Canva design directly onto the banner.
Adjust it so everything lines up where you want it. This makes it so much easier to get clean lettering and spacing.
You can use a mini projector or even borrow one from a friend or library. It doesn’t need to be fancy!
Step 5: Trace the Banner Design with a White Pencil
Using a white pencil or chalk pencil, lightly trace over the projected design. This gives you a perfect guide for painting.
Make sure your brown paper banner is still smooth and flat as you trace. Don’t press too hard — you just need a visible outline.
This step makes painting so much less intimidating!
 AI-assisted image for inspiration
Step 6: Paint Your DIY Banner Like a Pro
Time to bring your DIY banner idea to life! Here’s what you’ll need:
- A foundation makeup brush for large areas
- Small craft or eyeliner brushes for the details
- Acrylic craft paint (I love FolkArt and Crafter’s Collection from Hobby Lobby)
Start with the biggest words first, and work your way to the small details. Use light, even strokes.
Let it dry completely before moving or rolling it up. You’ll thank yourself later!
 AI-assisted image for inspiration
Extra Tips for the Perfect Brown Paper Banner
- Add borders! A simple wavy line or stripe adds a polished touch.
- Layer it with balloons or garlands for more impact.
- Use painter’s tape to hang it evenly without ruining your wall.
- Practice on a scrap piece of paper if it’s your first time painting.
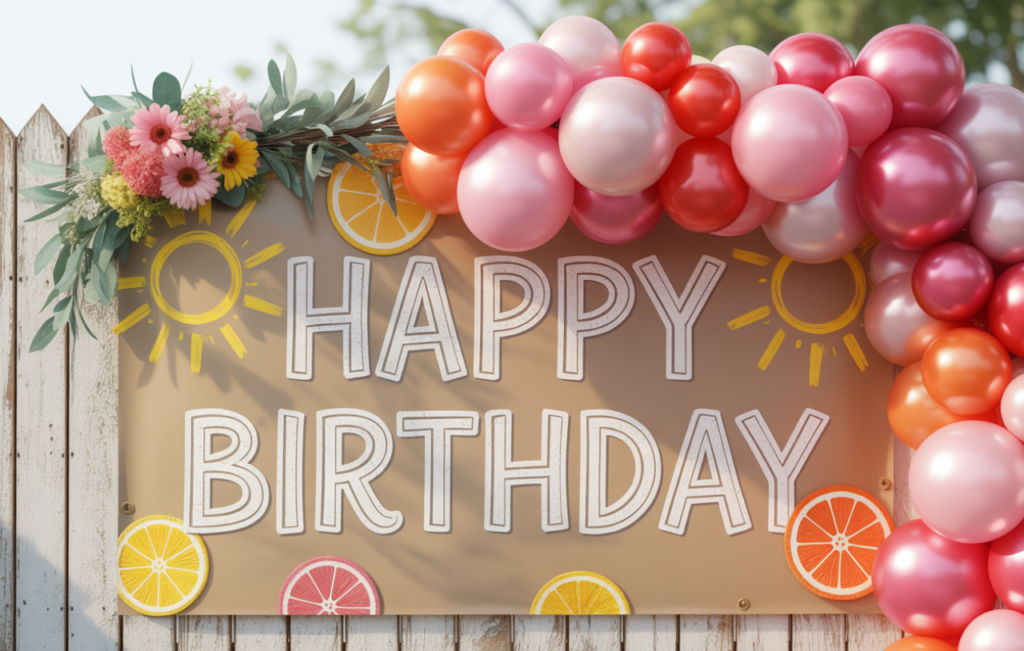
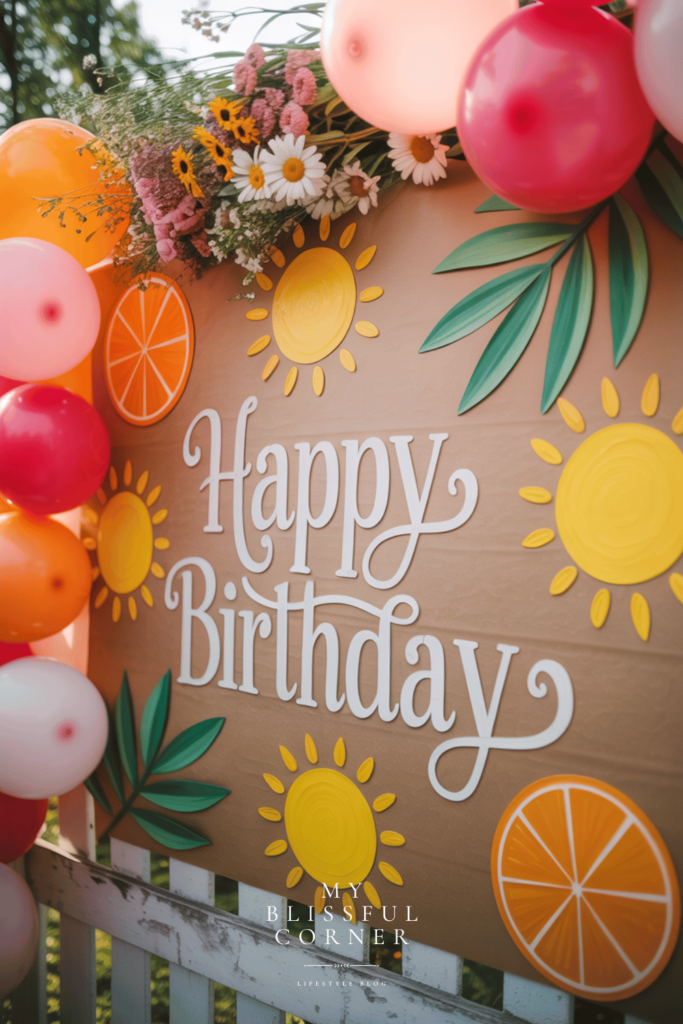
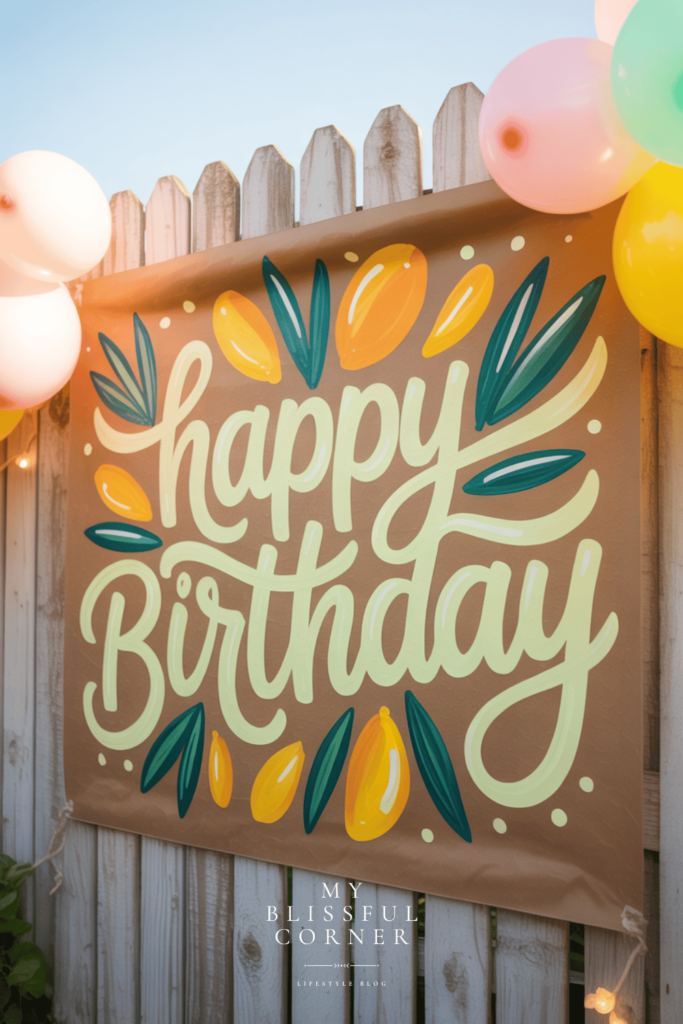
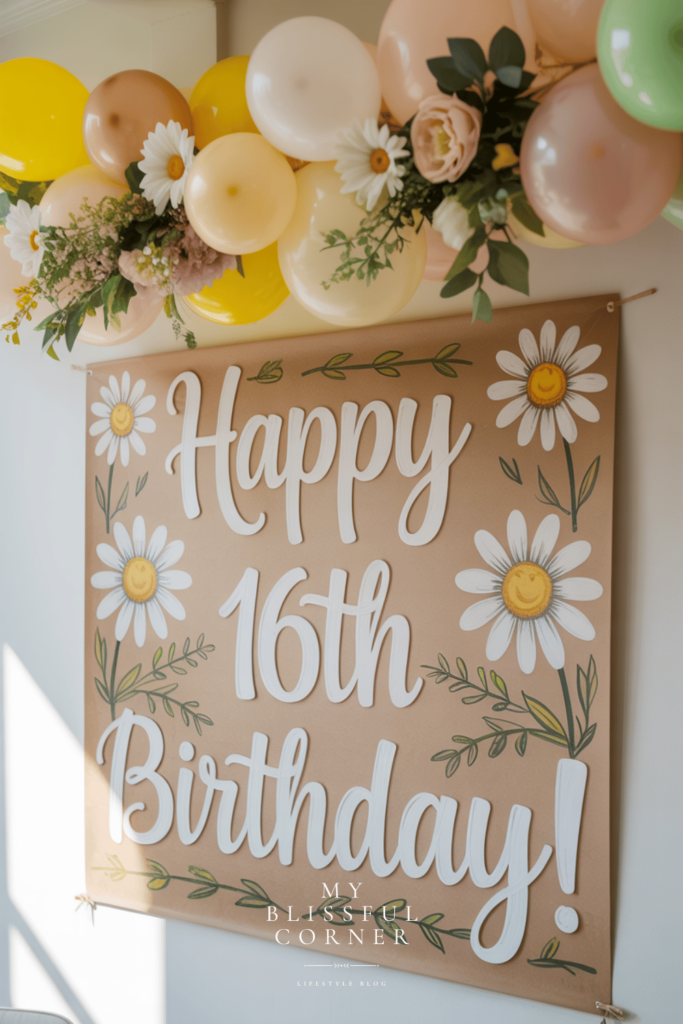
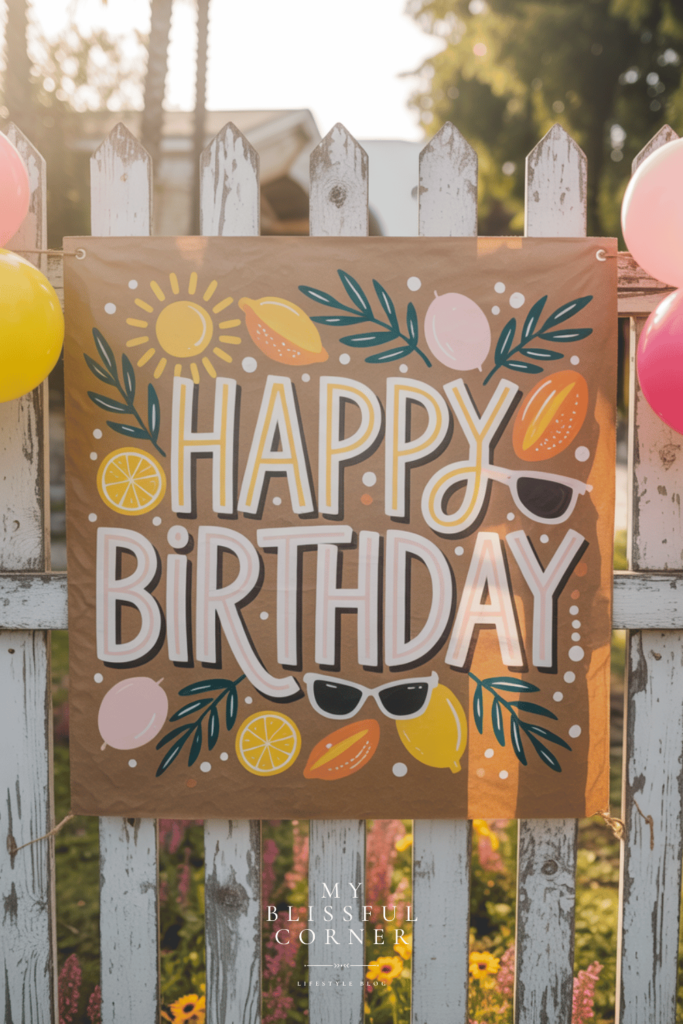
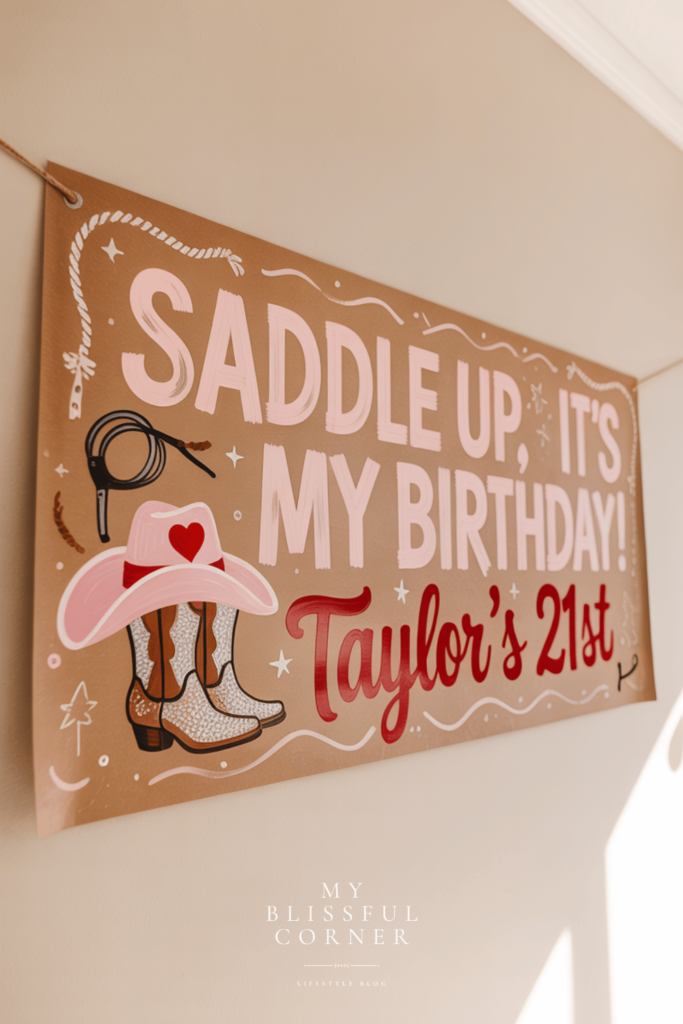
Brown Paper Banner Theme Ideas to Try
Need inspiration for your own butcher paper banner? Here are a few cute ideas to get your creativity flowing:
- “She’s the Cherry on Top” for a cherry birthday
- “Yeehaw, It’s My Birthday!” with cowgirl boots and a hat
- “Sunshine & Birthday Wishes” for a beach or picnic theme
- “Squeeze the Day!” for a citrus-themed celebration
- “Let’s Fiesta!” for a taco or Mexican-inspired party
These look amazing in photos and add personality to your setup.
 AI-assisted image for inspiration
Final Thoughts on How to Make a Banner
The best thing about a brown paper banner is that it’s totally you. It doesn’t need to be perfect to be cute.
In fact, the creative hand-painted, DIY look is what makes these so special.
Whether you’re making a kraft paper banner for a birthday, shower, or girls’ night in — just have fun with it.
I hope this helped you feel ready to try it yourself. And once you do, you’ll want to make one for every occasion!
 AI-assisted image for inspiration